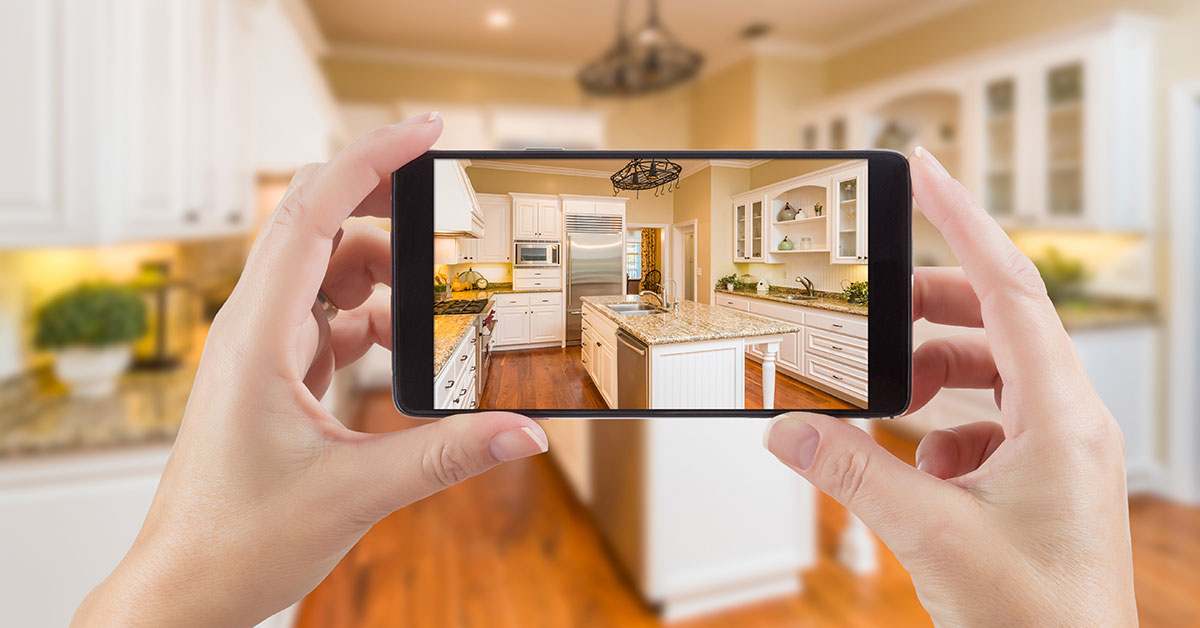
Taking pictures of your rental property is an important part of the renting process, and having the right photos makes it easier to find new tenants. On the other hand, having poor photos works against you.
If you’re deciding whether to use a property management company, one advantage is that they should handle this for you (and hopefully they’re good at it). But if you’re listing your house, apartment, condo, or other type of property yourself, taking pictures of your rental property falls to you. Although, for a luxury or high-priced home, consider using a professional real estate photographer to get the best possible photos for your listing.
High-quality photos that depict the property in the right light—literally and figuratively—make it look more welcoming and comfortable, and they help prospective tenants envision themselves living there. They also prevent wasted time by weeding out prospective renters before a showing who dislike certain aspects of the property.
Since you’re probably not a professional real estate photographer, here are some pointers on taking pictures of your rental property. They’ll help you avoid beginner mistakes and end up with photos that show your investment property in its best light.
Photography Tips for Rental Property Listings
- Use a quality digital camera if possible. Otherwise, use a phone or other mobile device with a high-quality camera; borrow one if you don’t have one.
- Declutter, clean, apply fresh paint, mow the lawn, make repairs, and otherwise get the place looking its best right before your photo shoot.
- If the place is inhabited by a current tenant, you’ll need to have them clean up for the shoot.
- A tripod is great for eliminating any blurriness from unsteady hands.
- Let in as much natural light as possible for the shoot. Take the pictures at a time of day when natural light peaks in the property. Just be careful that direct sunlight or glare doesn’t wash out your photos.
- Use indoor lights to supplement for natural light when necessary. Dark and gloomy photos won’t help sell the place. Avoid using your camera’s flash whenever possible, though.
- Take lots of pictures from lots of different places and angles (including multiple pictures of the same room and areas/features). It’s easy to delete the ones you don’t want, but it’s a nuisance if you don’t get good shots of some areas.
- Keep vertical lines vertical, though. For example, the sides of door frames and windows, vertical lines of furniture, corners, etc. should be straight up and down in your photos.
- Stand in a corner to take pictures of rooms, rather than against the wall somewhere or in the doorway.
- Use landscape mode (not portrait mode) for the exterior shots that come first in your listing. This takes photos that are wider than they are tall, and it’s the best look for eye-catching exterior pics.
- These wide shots are also helpful for giving the viewer context when showing rooms inside the property.
- Crouch down so you can take photos from about 4 to 5 feet off the ground for wider shots. This makes the space appear more open.
- Focus on one particular feature for each shot. Direct the viewer’s attention to your property’s best selling points.
- Be careful not to use photo editing to the extent that you’re misrepresenting the property.